
Ever jumped into a pool that’s too cold or hot? It’s not fun, right? Keeping your pool at the right temperature is important. It’s not just for comfort—it saves energy and money too. Did you know pools lose heat mostly through evaporation? 🏊♂️ If the water isn’t managed well, heating costs go up. This wastes energy and can even harm air quality.
That’s why a HomeKit pool thermometer is so useful. It helps you check your pool’s temperature from anywhere. You can automate changes and even use Siri to help. Imagine saying, “Hey Siri, what’s the pool temp?” and getting an answer right away. It’s smart, easy, and makes pool care simple.
Setting Up Your HomeKit Pool Thermometer
Unboxing and Identifying Components
Opening your HomeKit pool thermometer box feels exciting, like finding treasure. Inside, you’ll see different parts that make your pool smarter. Look for these:
Main Unit: It has the temperature sensor and connects to your devices.
Power Source: Some use rechargeable batteries or solar panels for energy.
Mounting Accessories: These help secure the thermometer in your pool.
Instruction Manual: This guide shows you how to set it up.
Check if all parts are there before starting. Missing pieces can cause problems later. If you’re unsure about any part, the manual usually has pictures to explain.
Hardware and Software Requirements
Before setting up, make sure you have the right tools. Here’s a simple checklist:
Hardware:
Component | What It Does |
|---|---|
ESP32 | Controls the thermometer |
DS18B20 Temperature Sensor | Measures the pool’s temperature |
Mini Solar Panel | Provides power using sunlight |
LiPo Battery | Stores energy for the device |
TP4056 Battery Charger Module | Charges the battery |
Voltage regulator | Keeps power steady |
Capacitors | Helps with electrical flow |
Resistor | Controls electrical current |
Circuit/Stripboard | Holds the components together |
Jumper Wires | Connects the parts |
Software:
Requirement Type | Details |
|---|---|
Communication Protocol | ZigBee works well for long-distance connections. |
Battery Life | Devices should last over 2 years on one charge. |
Waterproof Enclosure | Use an IP67-rated case to keep water out. |
Integration with HomeKit | Needs a hub like Philips Hue to connect to HomeKit. |
Sensor Type | Choose accurate sensors that work with HomeKit. |
These tools and features help your thermometer work well and stay safe from water. Check if it fits with your smart home system to avoid issues.
Step-by-Step Configuration Guide
Setting up your HomeKit pool thermometer is simple. Follow these steps to get started:
Power It Up 🔋
Charge the battery or attach the solar panel. Make sure it has enough power.Connect to Wi-Fi 📶
Use the HomeKit app on your phone. Follow the instructions to link the thermometer to your Wi-Fi.Pair with HomeKit 🏠
Scan the QR code on the thermometer with the HomeKit app. This connects it to your smart home system.Place It in the Pool 🌊
Put the thermometer in a spot where it can float and stay underwater. Avoid areas with strong water movement for better readings.Test the Setup ✅
Ask Siri, “What’s the pool temperature?” If Siri answers correctly, you’re all set!
Take your time with each step. Rushing might cause mistakes, and fixing them later isn’t fun on a sunny day.
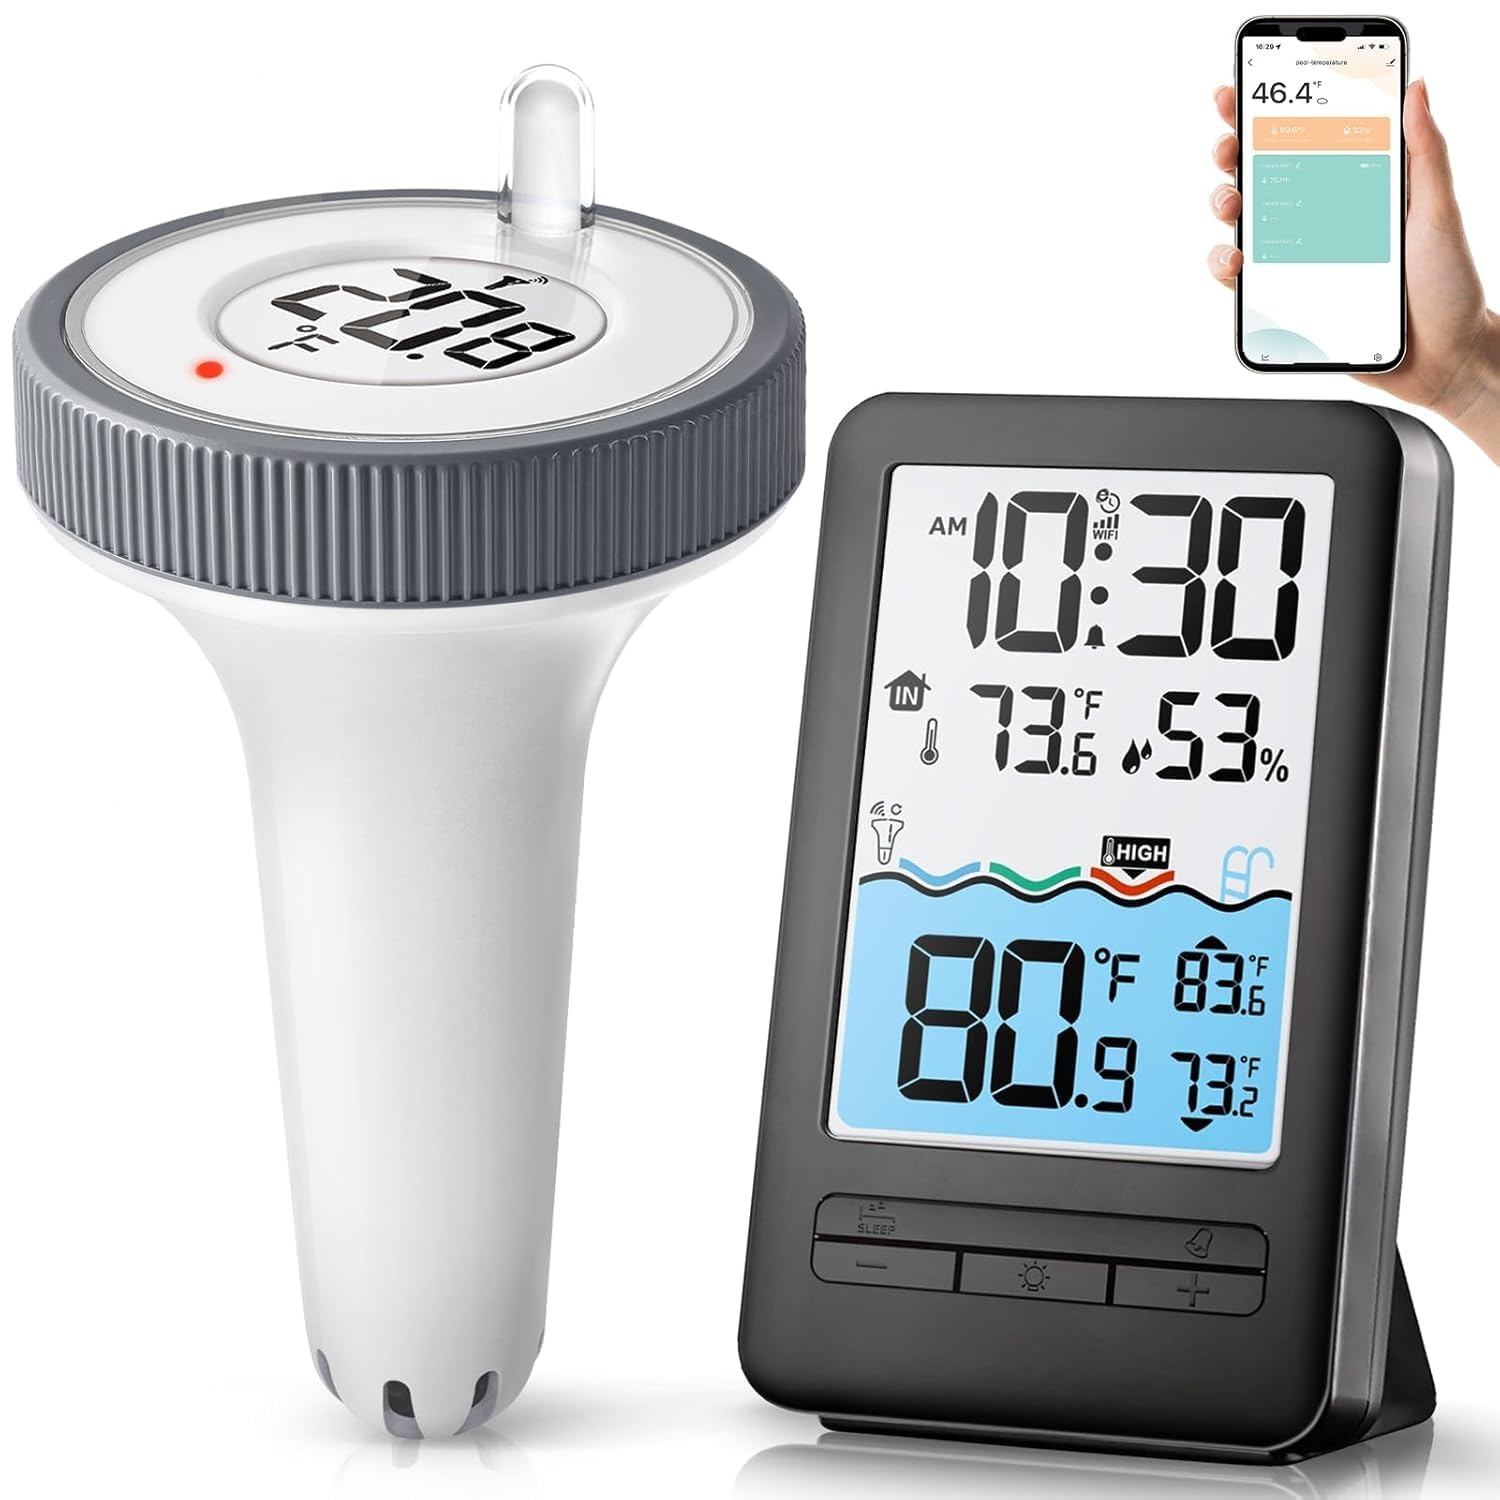
⭐Verdict: Best Overall (89.5%)
| Merk | HEYAXA |
| Special Feature | High Accuracy |
| Color | Grey |
| Included Components | 1*Outdoor thermometer, 1*Digital LCD Display, 1*Manual |
| Display Type | Digital |
| Item Length | 7.17 Inches |
After my use, I feel this HEYAXA Wireless WiFi Pool Thermometer is excellent. It measures temperature accurately and covers a wide range, suitable for pools, spas and aquariums.4.3-inch LCD display is clear with adjustable brightness, easy to read under sunlight.WiFi app supports remote monitoring and historical data view, easy to operate. Dual power modes (battery and rechargeable) are flexible, IPX7 waterproof design is durable and cost-effective, perfect for a variety of scenarios.
Echter, this thermometer has some shortcomings.WiFi connection may be unstable due to obstacles, need to ensure 2.4 GHz network.
- Dual power mode for flexibility and durability.
- WiFi app for remote monitoring.
- 4.3-inch display is easy to read.
- Highly accurate measurement of pool temperature.
- Brightness may reset at night.
- WiFi connection is occasionally unstable.
Integrating the Thermometer with HomeKit
Connecting to the HomeKit Ecosystem
Linking your HomeKit pool thermometer to HomeKit is simple. Open the Home app on your iPhone or iPad. Tap the “+” button to add a device. Scan the QR code on the thermometer. Done! Your thermometer is now part of your smart home system.
Why is this connection useful? It lets you see your pool’s temperature instantly. You can check if the water is ready for swimming without going outside. The app also shows temperature graphs. These graphs help you understand how your pool’s temperature changes during the day. It’s like having a mini weather station just for your pool!
Automating Pool Temperature Monitoring
Automation makes everything easier. After connecting, set up automations in the Home app. For example:
Turn on the pool heater when the water gets too cold.
Get alerts on your phone if the pool is too warm or cold.
Work with other smart devices, like pool covers, to keep the perfect temperature.
These automations save you time and effort. You won’t need to check the thermometer all the time. Everything runs automatically, making pool care stress-free.
Using Siri for Hands-Free Control
Siri makes pool care even easier. Imagine sitting outside and wondering about the pool. Just say, “Hey Siri, what’s the pool temperature?” Siri will answer right away. You can also ask Siri to turn on the heater or stop the pump.
This hands-free feature is great for busy days or when you have guests. It’s like having a helper for your pool. Best of all, it works perfectly with your HomeKit pool thermometer, making pool care smarter and easier.
Ensuring Accurate Temperature Monitoring
Best Spot for the Thermometer
Where should you put your thermometer for good readings? The best place is where the water stays calm. Putting it in the middle of the pool works well. This avoids areas with strong waves or too much sunlight, which can change the readings.
If your pool has both shallow and deep ends, place it near the deep end. The temperature there is usually steadier. Keep it away from the heater or filter. These spots can give wrong readings. A floating thermometer is helpful because it stays in one spot and doesn’t sink.
Making Sure Readings Are Correct
How can you make sure your thermometer is accurate? You need to calibrate it. When I got my HomeKit pool thermometer, I checked it with another thermometer. This helped me see if it was correct.
Here’s a simple way to calibrate:
Fill a glass with room-temperature water.
Put your thermometer in the glass.
Compare its reading to a trusted thermometer.
If the numbers don’t match, adjust it in the HomeKit app. Most smart thermometers let you fix the calibration easily. Do this once a month to keep it accurate.
Keeping Your Thermometer Clean
How do you make your thermometer last longer? Clean it often. I clean mine every two weeks to remove dirt and algae. Use a soft cloth and gentle soap. Don’t use strong chemicals—they can ruin the waterproof cover.
Check the battery or solar panel often. If the battery is low, it might stop sending data to HomeKit. Look at the sensor for damage too. If it’s broken, replace it to keep readings correct.
Pro Tip: Bring your thermometer inside during winter. Cold weather can break it and make it wear out faster.
Troubleshooting Your HomeKit Pool Thermometer
Fixing Connectivity Issues
Can’t connect your thermometer to HomeKit? Don’t stress—it’s a common problem. Here’s how to fix it:
Weak WiFi Signal 📶: If the thermometer is too far from your router, the signal might not reach. Move the router closer or use a WiFi extender.
Device Interference 📡: Gadgets like microwaves or baby monitors can disrupt WiFi. Keep the router away from these devices.
Obstacles in the Way 🧱: Walls, furniture, or trees can block the signal. Make sure there’s a clear path between the router and thermometer.
Bad Router Placement 📍: Place the router in a high, central spot for better coverage.
If these don’t work, restart both the router and thermometer. A quick reboot often solves the issue. I’ve had times when my thermometer wouldn’t connect, but restarting fixed it fast.
Resolving Inaccurate Readings
Does your thermometer show weird temperatures? This happens sometimes. Here’s how to fix it:
Cheap Materials: Some thermometers use low-quality parts that fail quickly. If this is the case, upgrade to a better one.
Dropped Thermometer: Dropping it can damage the inside parts. Handle it carefully to avoid problems.
Sudden Temperature Changes: Big temperature shifts can confuse the sensor. If this happens, recalibrate it.
Loose Wires: Connections inside the thermometer might be loose. Check for damage or contact the company for help.
Once, my thermometer showed wrong readings. I recalibrated it using the HomeKit app, and it worked fine again. Regular calibration keeps it accurate.
Pro Tip: Siri might give wrong temperatures because of a bug. For example, it might change 23°F to -6°C. If this happens, check your iOS settings and report it to Apple.
Managing Battery Life and Replacements
Is your thermometer losing power too fast? Let’s keep it charged and working well. Here’s what to know:
Device | Battery Life |
|---|---|
Wireless Temperature Sensor 1 | 12+ months |
Wireless Temperature Sensor 2 | 6+ months |
Wireless Temperature Sensor 3 | 12 months |
Most HomeKit pool thermometers last six months or more on one charge. To make the battery last longer:
Use Solar Panels ☀️: If it has solar power, place it in sunlight.
Avoid Power Drains 🔋: Features like constant WiFi can use up power fast. Turn off extras if you can.
Replace Batteries Quickly 🛠️: When the battery dies, replace it with the right type. Keep extras ready.
I bring my thermometer inside during winter to save battery life. Cold weather drains batteries fast, so storing it helps until pool season returns.
Using a HomeKit pool thermometer makes pool care simple and smart. Here’s a quick summary of the steps:
Setup: Open the box, check the parts, and follow the setup guide.
Integration: Link it to HomeKit, set automations, and use Siri for easy control.
Maintenance: Put it in the right spot, calibrate often, and clean it for accurate results.
By following these steps, you’ll save effort and keep your pool just right. Once you try it, you’ll wonder how you managed before. Go ahead and enjoy your HomeKit pool thermometer!
FAQ
How can I tell if my HomeKit pool thermometer works?
Check the readings and test connectivity.
Compare its temperature with another trusted thermometer. If they match, it’s working fine. You can also ask Siri for the pool temperature. If Siri gives the right answer, the thermometer is good to go.
Can I use my HomeKit pool thermometer in saltwater pools?
Yes, but make sure it’s safe for saltwater.
Most thermometers work in saltwater, but check the product details first. Look for materials that resist rust or corrosion. Cleaning it often helps stop salt buildup on the sensor.
What if Siri shows the wrong pool temperature?
Recalibrate the thermometer and check your settings.
This happened to me once. First, recalibrate the thermometer using the HomeKit app. Next, update your iOS software. If it still doesn’t work, restart your devices or contact customer support.
How often should I clean my HomeKit pool thermometer?
Clean it every two weeks.
I clean mine every two weeks to remove dirt and algae. Use a soft cloth and gentle soap. Don’t use strong chemicals—they can damage the waterproof cover. Regular cleaning keeps it accurate and helps it last longer.